Create an Interface Using C++ in Unreal Engine 5
Interfaces are great to use when you need different actors listening for event calls.
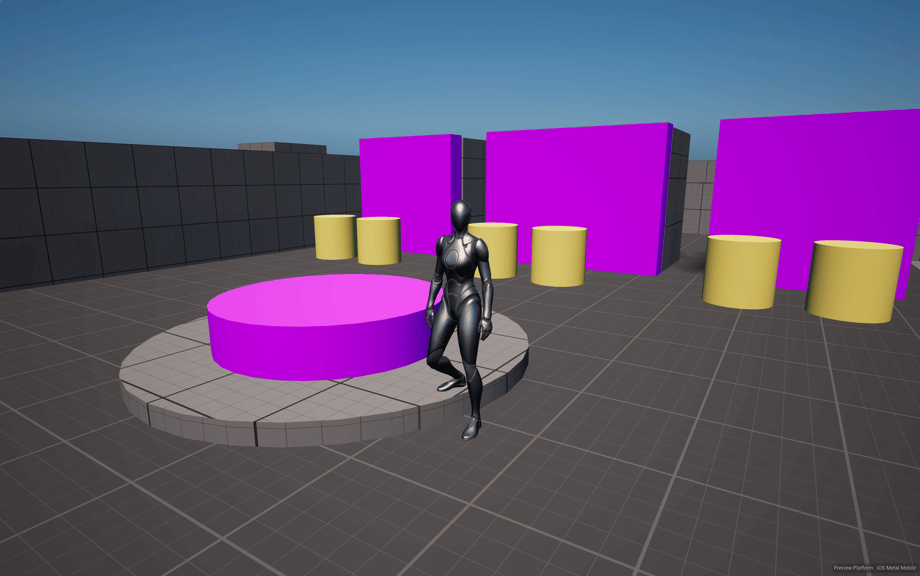
Game Engine
Unreal Engine 5.4.4
IDE
Rider 2024.2.7
Project Name
MyProject
Interfaces are great when you need actors listening for events in the world without having them carry the burden of inheriting or casting to large objects. If all the animals 🦣 need to visit their home when it's nighttime, we can send a an event via an interface and have them all react accordingly. Or if a player needs to interact with an object/actor, the player only needs to send the interact message to the object and then the object can perform whatever action they want.
First, create a new interface class via the editor or IDE. It'll be small class, refer to the Interface Epic Documentation for some great in depth details regarding the class along with the UE Reflection System.
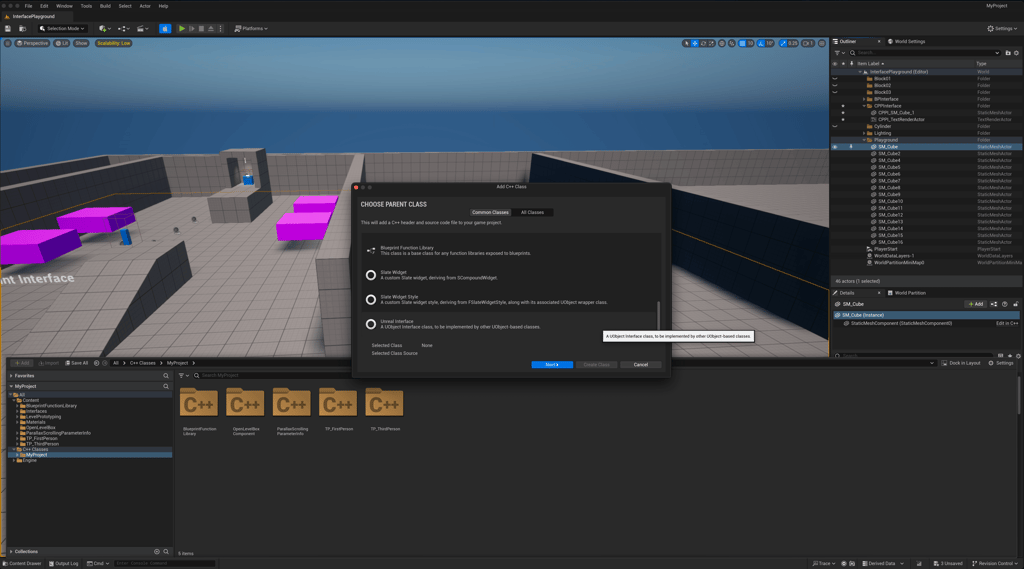
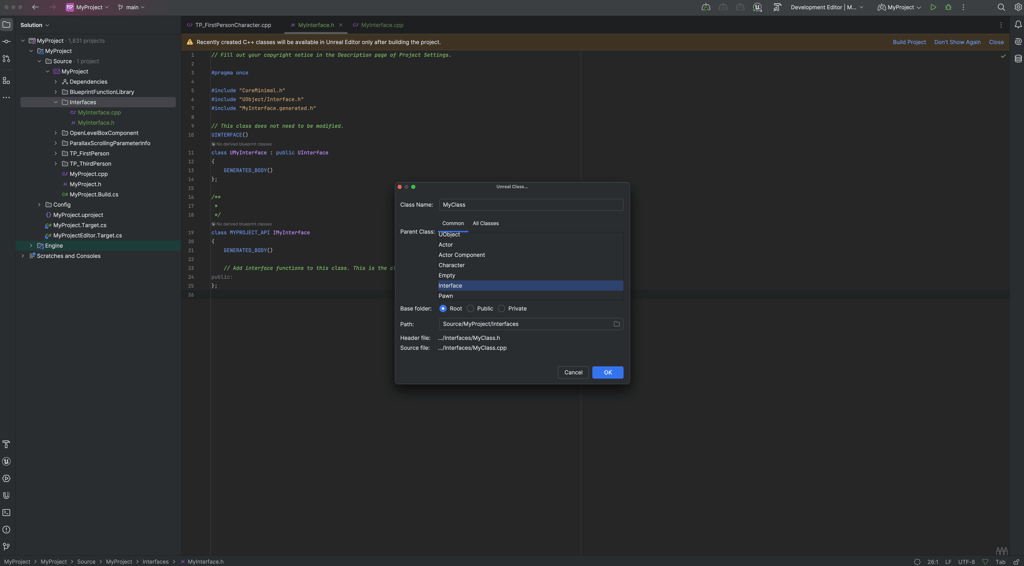
The interface class will be simple with only one function in the header file. The .cpp file will be empty, it's not being used in this example.
MyInterface.h
#pragma once

#include "CoreMinimal.h"
#include "UObject/Interface.h"
#include "MyInterface.generated.h"

// This class does not need to be modified.
UINTERFACE(MinimalAPI, Blueprintable)
class UMyInterface : public UInterface
{
	GENERATED_BODY()
};

class MYPROJECT_API IMyInterface
{
	GENERATED_BODY()

	// Add interface functions to this class. This is the class that will be inherited to implement this interface.
public:
	UFUNCTION(BlueprintCallable, BlueprintNativeEvent, Category = "MyInterface")
	void PerformAction();
};
Actors will be calling/executing the PerformAction function while others will be listening for this event and then will implement their method.
With the interface created I then made a very simple TriggerVolume that onOverlap loops through a TArray<AActor*> variable and executes the interface function on each actor with IMyInterface::Execute_PerformAction?
InterfaceTriggerVolume.h
#pragma once

#include "CoreMinimal.h"
#include "Engine/TriggerVolume.h"
#include "InterfaceTriggerVolume.generated.h"

UCLASS()
class MYPROJECT_API AInterfaceTriggerVolume : public ATriggerVolume
{
	GENERATED_BODY()

public:
	// Sets default values for this actor's properties
	AInterfaceTriggerVolume();

	UFUNCTION()
	void BeginOverlap(AActor* OverlappedActor, AActor* OtherActor);

	UPROPERTY(EditAnywhere, BlueprintReadWrite)
	TArray<AActor*> MyActors = TArray<AActor*>();
};
InterfaceTriggerVolume.cpp
#include "InterfaceTriggerVolume.h"
#include "MyInterface.h"

// Sets default values
AInterfaceTriggerVolume::AInterfaceTriggerVolume()
{
	OnActorBeginOverlap.AddDynamic(this, &AInterfaceTriggerVolume::BeginOverlap);
}

void AInterfaceTriggerVolume::BeginOverlap(AActor* OverlappedActor, AActor* OtherActor)
{
	if (OtherActor != nullptr && !MyActors.IsEmpty())
	{
		for (AActor* MyActor : MyActors)
		{
			// Engine crashes if the actor does not implement the interface
			// Alt: MyActor->GetClass()->ImplementsInterface(UMyInterface::StaticClass())
			if (MyActor->Implements<UMyInterface>())
			{
				IMyInterface::Execute_PerformAction(MyActor);
			}
		}

		Destroy();
	}
}
Next I created two actor classes, MyInterfaceDestroyActor and MyInterfaceMovableActor, that inherent MyInterface. Each actor will perform different actions on the function PerformAction_Implementation(). PerformAction comes from the MyInterface class and with the _Implementation allows the actor to run a function when the message is sent.
MyInterfaceDestroyActor is a very simple actor that simply destroys itself when PerformAction is called.
MyInterfaceDestroyActor.h
#pragma once

#include "CoreMinimal.h"
#include "GameFramework/Actor.h"
#include "MyInterface.h"
#include "MyInterfaceDestroyActor.generated.h"

UCLASS()
class MYPROJECT_API AMyInterfaceDestroyActor : public AActor, public IMyInterface
{
	GENERATED_BODY()

public:
	// Blueprint Native Event override
	void PerformAction_Implementation() override;
};
MyInterfaceDestroyActor.cpp
#include "MyInterfaceDestroyActor.h"

void AMyInterfaceDestroyActor::PerformAction_Implementation()
{
	Destroy();
}
MyInterfaceMovableActor is a little more involved. The class has a static mesh component that changes its relative location through FMath::Lerp and a UTimelineComponent.
MyInterfaceMovableActor.h
#pragma once

#include "CoreMinimal.h"
#include "GameFramework/Actor.h"
#include "MyInterface.h"
#include "MyInterfaceMovableActor.generated.h"

class UBillboardComponent;
class UCurveFloat;
class UTimelineComponent;

UCLASS()
class MYPROJECT_API AMyInterfaceMovableActor : public AActor, public IMyInterface
{
	GENERATED_BODY()

public:
	// Sets default values for this actor's properties
	AMyInterfaceMovableActor();

protected:
	// Called when the game starts or when spawned
	virtual void BeginPlay() override;

public:
	// Blueprint Native Event override
	void PerformAction_Implementation() override;

	UPROPERTY(EditAnywhere, BlueprintReadWrite, Category="Default", meta = (AllowPrivateAccess = "true"))
	UBillboardComponent* DefaultSceneRoot;

	UPROPERTY(EditAnywhere);
	UStaticMeshComponent* MovableMesh;

	UPROPERTY(EditAnywhere)
	UCurveFloat* AlphaCurve;

	UTimelineComponent* MyTimeline;

	UFUNCTION()
	void MoveMesh(float Value);
};
MyInterfaceMovableActor.cpp
#include "MyInterfaceMovableActor.h"
#include "Components/BillboardComponent.h"
#include "Components/TimelineComponent.h"
#include "Curves/CurveFloat.h"

// Sets default values
AMyInterfaceMovableActor::AMyInterfaceMovableActor()
{
	DefaultSceneRoot = CreateDefaultSubobject<UBillboardComponent>(TEXT("DefaultScenRoot"));
	RootComponent = DefaultSceneRoot;

	MovableMesh = CreateDefaultSubobject<UStaticMeshComponent>(TEXT("MovableMesh"));
	MovableMesh->SetupAttachment(RootComponent);

	MyTimeline = CreateDefaultSubobject<UTimelineComponent>(TEXT("MyTimeline"));
}

// Called when the game starts or when spawned
void AMyInterfaceMovableActor::BeginPlay()
{
	Super::BeginPlay();

	if (AlphaCurve != nullptr)
	{
		FOnTimelineFloat InterpFunc;

		InterpFunc.BindUFunction(this, FName("MoveMesh"));

		MyTimeline->AddInterpFloat(AlphaCurve, InterpFunc, FName("Alpha"), FName("Alpha"));
	}
}

void AMyInterfaceMovableActor::PerformAction_Implementation()
{
	// Alternative: MyTimeline->PlayFromStart();
	MyTimeline->Play();
}

void AMyInterfaceMovableActor::MoveMesh(float Value)
{
	FVector NewLocation = FMath::Lerp(MovableMesh->GetRelativeLocation(), FVector(0.f, 0.f, 0.f), Value);
	MovableMesh->SetRelativeLocation(NewLocation);
}
I added a BillboardComponent as the root for a visual indictor.
With all the classes created we can now work in the editor. The InterfaceTriggerVolume actor can be dragged directly into the level. I then created a Blueprint with MyInterfaceDestroyActor as the parent and added a static mesh component. Then I created a Blueprint with MyInterfaceMovableActor as the parent.
From here we can start building the level. Below is the final result.
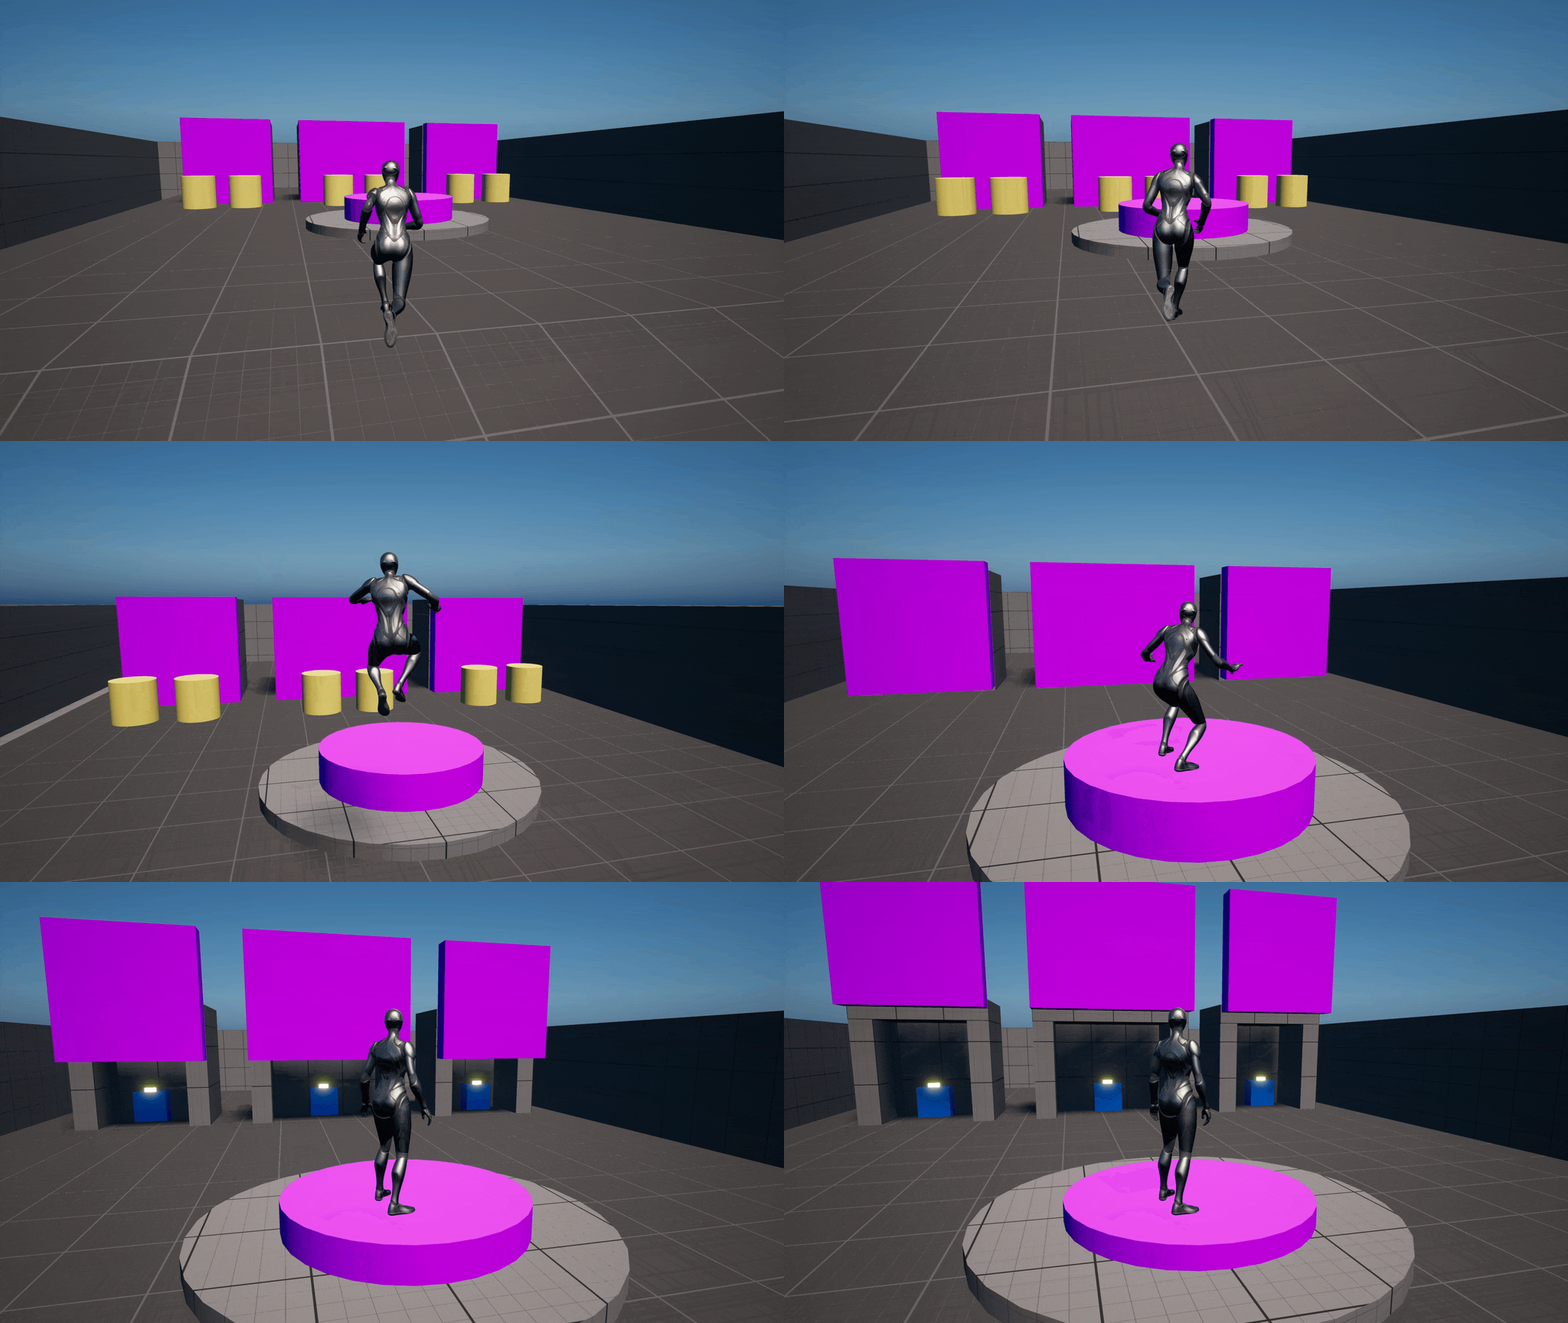
I added four movable actors and six destroyable actors. I added each actor to the volume's MyActors array so they will each execute the PerformAction function on overlap.
Although each actor uses the same PerformAction_Implementation function, they each perform their own independent function. The moveable actors move to a new location while the destroy actors are destroyed on the trigger.
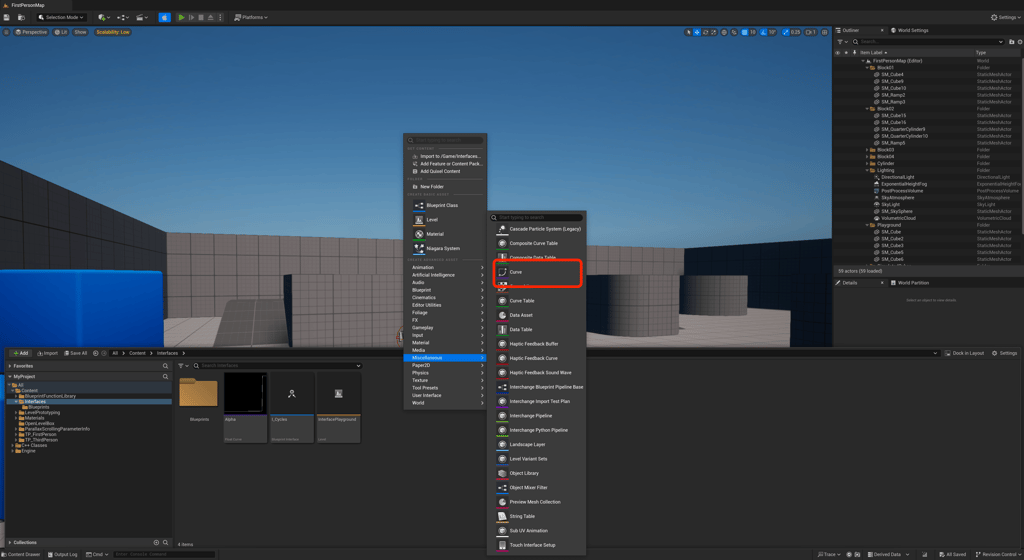
When setting up the MyInterfaceMovableActor Blueprint I did have create a float curve and add it as variable for the Timeline component.
Overall it's interesting to see how multiple actors can listen to same event and then perform different actions.

Harrison McGuire