How to Change Levels in Unreal using C++
Quick snippet on how to use OpenLevelBySoftObjectPtr to change levels/maps in Unreal Engine 5

Game Engine
Unreal Engine 5.4.4
IDE
Rider 2024.2.7
Project Name
MyProject
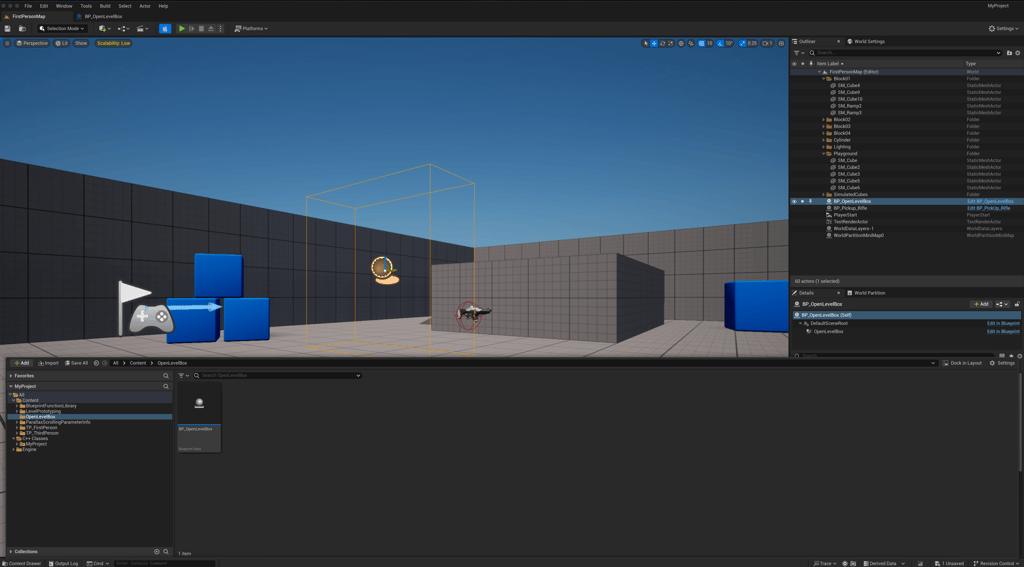
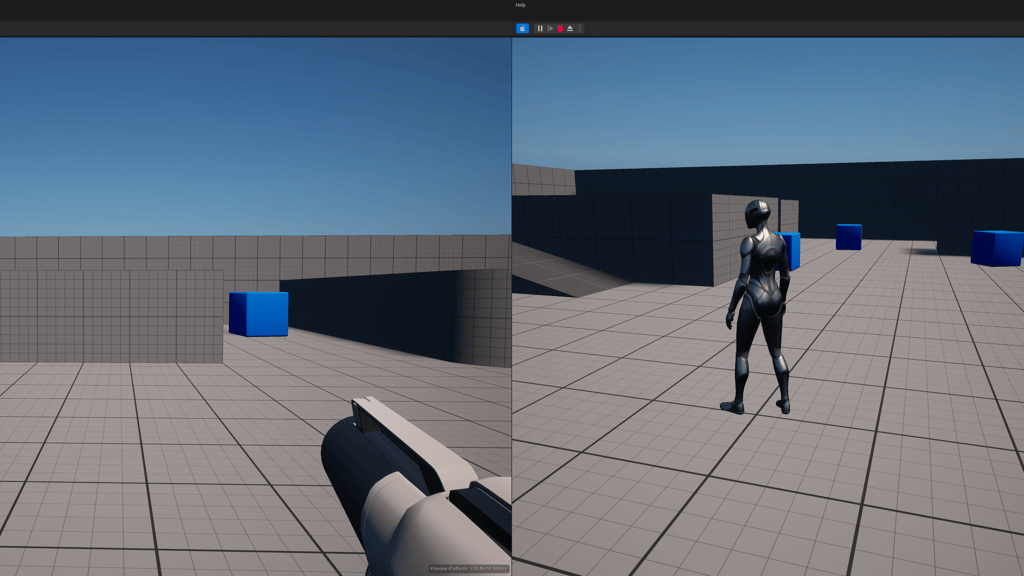
I created a simple box collision to test switching levels in Unreal Engine 5 using C++. Sometimes it's simpler to do it in Blueprints, but I wanted try some new things.
I created a new Unreal class component with parent UBoxComponent and named it OpenLevelComponent. In the header file I added a Level variable and a OnBoxBeginOverlap function to bind to the overlap event.
OpenLevelComponent.h
#pragma once

#include "CoreMinimal.h"
#include "Components/BoxComponent.h"
#include "OpenLevelBoxComponent.generated.h"

UCLASS(ClassGroup=(Custom), meta=(BlueprintSpawnableComponent))
class MYPROJECT_API UOpenLevelBoxComponent : public UBoxComponent
{
	GENERATED_BODY()

public:
	UPROPERTY(EditAnywhere, BlueprintReadWrite, Category = "Level")
	const TSoftObjectPtr<UWorld> Level;

protected:
	// Called when the game starts
	virtual void BeginPlay() override;

	/** Code for when something overlaps this component */
	UFUNCTION()
	void OnBoxBeginOverlap(UPrimitiveComponent* OverlappedComponent, AActor* OtherActor, UPrimitiveComponent* OtherComp, int32 OtherBodyIndex, bool bFromSweep, const FHitResult& SweepResult);
};
In the .cpp first include the "Kismet/GameplayStatics.h" file. Then in BeginPlay I added the dynamic binding to the component to use the overlap function. In OnBoxBeginOverlap I'm simply checking if the Level variable is valid, if true, I run UGameplayStatics::OpenLevelBySoftObjectPtr(World, Level);
OpenLevelComponent.cpp
#include "OpenLevelBoxComponent.h"
#include "Kismet/GameplayStatics.h"

// Called when the game starts
void UOpenLevelBoxComponent::BeginPlay()
{
	Super::BeginPlay();

	// Register the Overlap Event
	OnComponentBeginOverlap.AddDynamic(this, &UOpenLevelBoxComponent::OnBoxBeginOverlap);
}

void UOpenLevelBoxComponent::OnBoxBeginOverlap(UPrimitiveComponent* OverlappedComponent, AActor* OtherActor, UPrimitiveComponent* OtherComp, int32 OtherBodyIndex, bool bFromSweep, const FHitResult& SweepResult)
{
	UWorld* const World = GetWorld();

	if (OtherActor != nullptr && !Level.IsNull())
	{
		if (!Level.IsValid())
		{
			Level.LoadSynchronous();
		}

		if (Level.IsValid())
		{
			UGameplayStatics::OpenLevelBySoftObjectPtr(World, Level);
		}
	}
}
While testing this component !Level.IsNull() was sufficient to ensure the variable was valid, but just in case I ran a conditional with !Level.IsValid() to Load the soft pointer just in case. Your experience may vary.
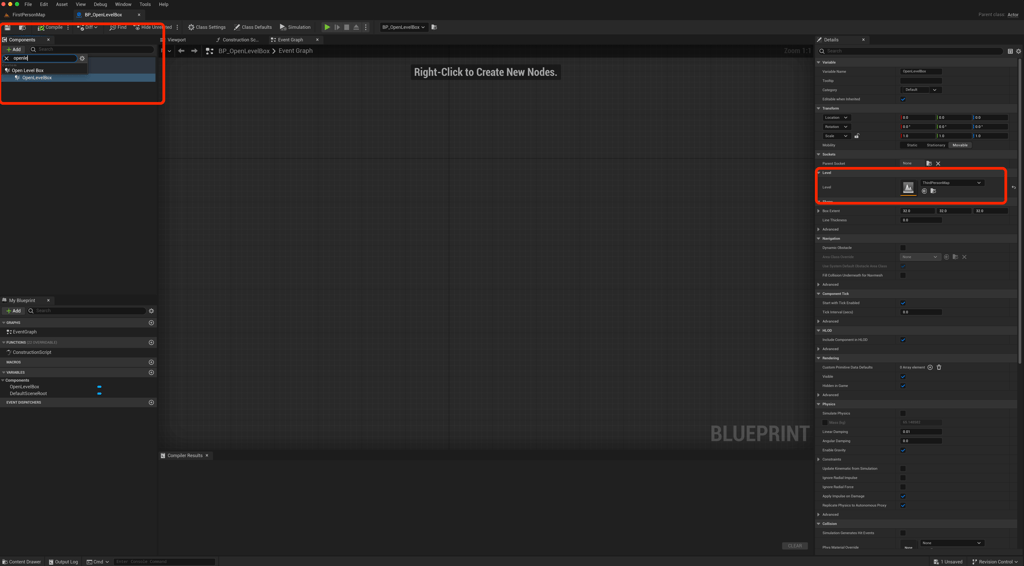
After rebuilding the project I can now add the component to any Blueprint.

After adding the component and selecting the level I can drag it into any map.


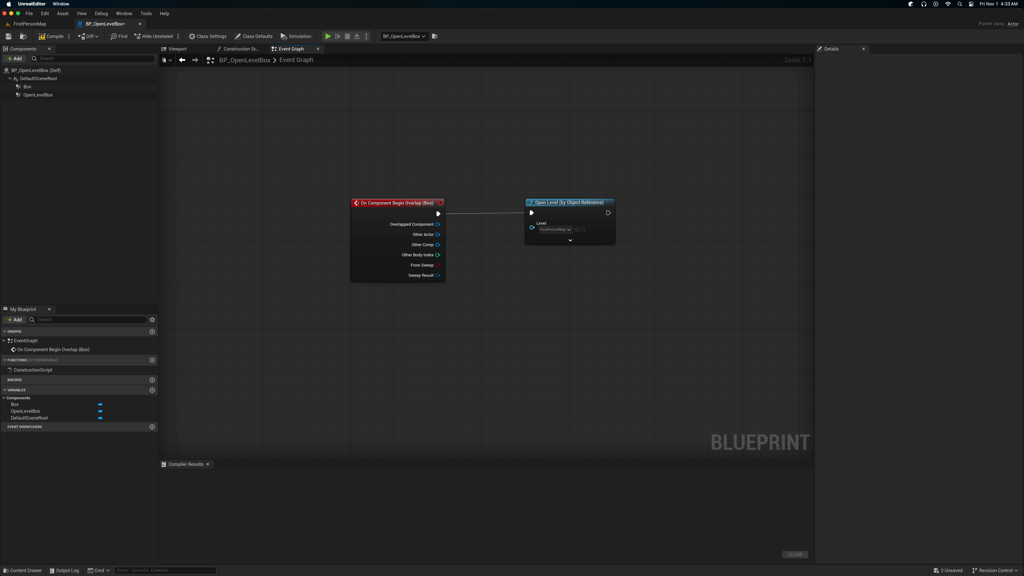
Changing levels via Blueprints is trivial. Below is an image of how easy it is to due the same thing without C++.

I hope this helps, happy coding.

Harrison McGuire