How to use MoveComponentTo Inside UE5 in C++
MoveComponentTo is a really simple function inside the Kismet System Library for moving components to different locations inside an actor.

Game Engine
Unreal Engine 5.5.0
IDE
Rider 2024.3
Project Name
MyProject
The Kismet System Library provides the function MoveComponentTo allowing us to very easily move components to different locations without us have to create timers or timelines. This function can be great for moving platforms, doors, or a myriad of other things.
Start by creating a new C++ actor class, I called mine MyActor_MCT (MCT short for MoveComponentTo). This actor will be platform that moves back and forth. I added a few variables to the header file to build up the actor with some basic components. Most importantly for MoveComponentTo I put the FLatentActionInfo struct property in the header, this struct is required for the method to run. You can declare it and use it however you want, but for simplicity I declared it in .h file.
MyActor_MCT.h
#pragma once

#include "CoreMinimal.h"
#include "MyActor_MCT.generated.h"

UCLASS()
class MYPROJECT_API AMyActor_MCT : public AActor
{
	GENERATED_BODY()

public:
	// Sets default values for this actor's properties
	AMyActor_MCT();

protected:
	// Called when the game starts or when spawned
	virtual void BeginPlay() override;

public:
	UPROPERTY()
	USceneComponent* Root;

	UPROPERTY(EditAnywhere)
	UStaticMeshComponent* StaticMesh;

	UPROPERTY(EditAnywhere)
	FVector TargetLocation;

	UPROPERTY(EditAnywhere)
	float OverTime = 4.f;

	UFUNCTION()
	void MoveToTarget();

	UFUNCTION()
	void ReturnToOrigin();

	FLatentActionInfo LatentInfo;
};
Next, inside in the .cpp file we can build our actor with a scene component and static mesh component. Again, most importantly, we need to include the KismetSystemLibrary library at the top so we have access the library that has the MoveComponentTo function. The kismet header file also provides us full access to the FLatentActionInfo struct.
In the constructer, to reduce duplication, I set the struct values that will be re-used in this example. The CallbackTarget is equal to this actor, Linkage is 0, and then we can use FGuid::NewGuid() for random number.
...
	LatentInfo.CallbackTarget = this;
	LatentInfo.Linkage = 0;
	LatentInfo.UUID = FGuid::NewGuid().A;
...
On BeginPlay we'll call our function MoveTarget(). In MoveTarget the first thing we do is set the ExecutionFunction function on the LatentInfo struct to specify a function to run when MoveComponentTo has completed. The ExecutionFunction is optional, but it's great to have. In this example we setting the ExecutionFunction to ReturnTargetToOrgin which simply move the component back to its starting position.
The UKismetSystemLibrary::MoveComponentTo takes nine arguments, a lot, but with our struct setup everything else can gracefully fall into place. We can add our StaticMesh as the first argument followed by end location, end rotation, and two ease booleans. The argument is OverTime to indicate the time it'll take the compent to reach it's destination. I default OverTime to four seconds, but can be changed anytime in the editor. I set shortest rotation path to true and then followed by EMoveComponentAction Enum that can accept Move, Stop, or Return, in our case our functions will be using the Move type. Finally, we can plug in our LatentInfo info struct to complete the function.
The ReturnToOrigin function is pretty much the same except TargetLocation is replaced with the root vector of FVector(0.f, 0.f, 0.f) and I updated the ExecuteFuntion in the struct to MoveTarget so we can repeat the cycle.
MyActor_MCT.cpp
#include "MyActor_MCT.h"
#include "Kismet/KismetSystemLibrary.h"

// Sets default values
AMyActor_MCT::AMyActor_MCT()
{
	Root = CreateDefaultSubobject<USceneComponent>(TEXT("Root"));
	Root->bVisualizeComponent = true;
	RootComponent = Root;

	StaticMesh = CreateDefaultSubobject<UStaticMeshComponent>(TEXT("StaticMesh"));
	StaticMesh->SetupAttachment(RootComponent);

	LatentInfo.CallbackTarget = this;
	LatentInfo.Linkage = 0;
	LatentInfo.UUID = FGuid::NewGuid().A;
}

// Called when the game starts or when spawned
void AMyActor_MCT::BeginPlay()
{
	Super::BeginPlay();

	MoveToTarget();
}

void AMyActor_MCT::MoveToTarget()
{
	LatentInfo.ExecutionFunction = FName("ReturnToOrigin");

	UKismetSystemLibrary::MoveComponentTo(
		StaticMesh,
		TargetLocation,
		FRotator(0.f, 0.f, 0.f),
		true,
		true,
		OverTime,
		true,
		EMoveComponentAction::Move,
		LatentInfo);
}

void AMyActor_MCT::ReturnToOrigin()
{
	LatentInfo.ExecutionFunction = FName("MoveToTarget");

	UKismetSystemLibrary::MoveComponentTo(
		StaticMesh,
		FVector(0.f, 0.f, 0.f),
		FRotator(0.f, 0.f, 0.f),
		true,
		true,
		OverTime,
		true,
		EMoveComponentAction::Move,
		LatentInfo);
}
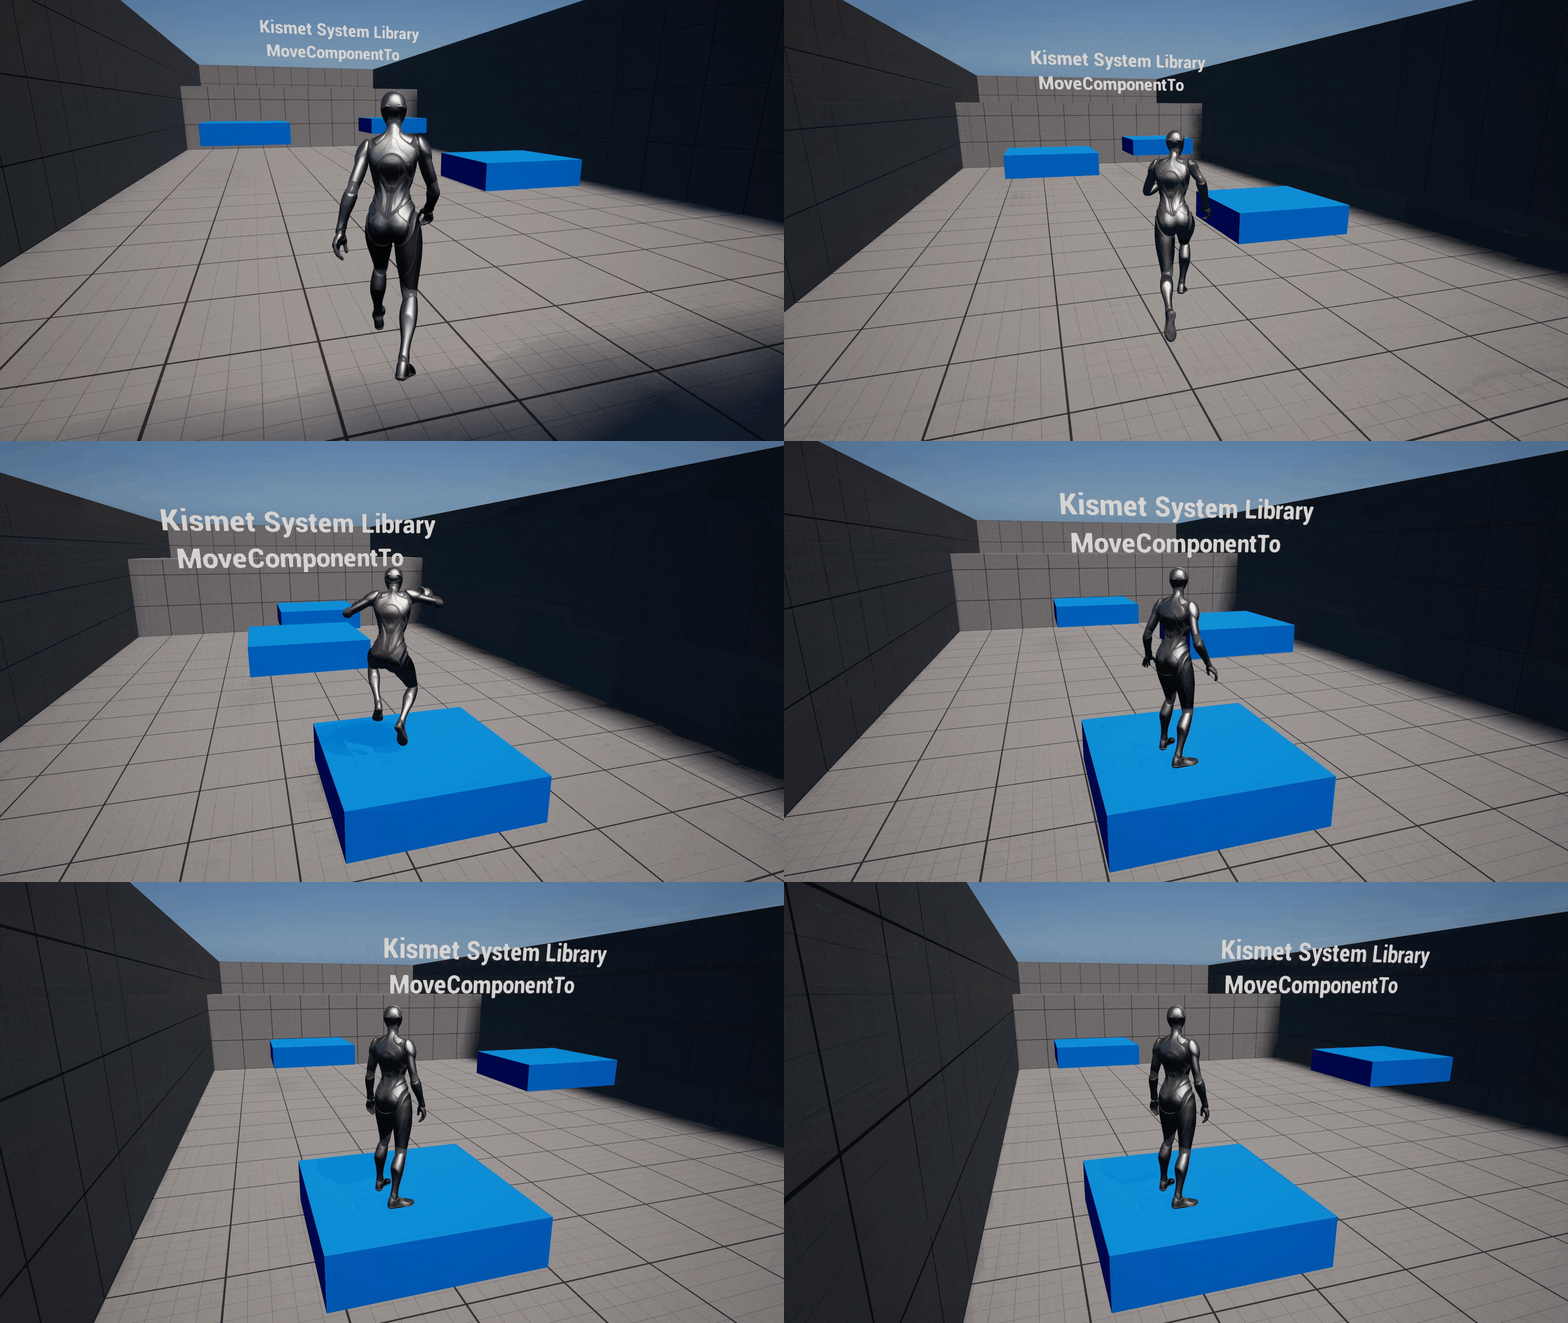
I created a Blueprint while having MyActor_MCT as the parent, added a mesh and then placed a few in the demo gym. Below is the final result.


Harrison McGuire